
Beading & Sequins Embroidery | Workshop
Explore the decorative potential of beads and sequins in this hands-on workshop focused on couture embellishment techniques. You’ll learn how different materials can be used to add texture, movement, and light to a design, and how to combine them effectively to enhance a garment. Led by couture embroidery expert Mary Brown — a graduate of the prestigious Royal School of Needlework in the UK — this workshop offers practical insight into professional embellishment methods used in contemporary fashion.

What You’ll Learn
In this workshop, you’ll develop practical skills in bead and sequin embroidery while exploring how embellishment can enhance your design work. You’ll learn how to source and translate inspiration, draw and transfer designs onto fabric and gain an understanding of different types of beads and sequins and where to source them. You’ll also explore the range of needles, threads, and stitching techniques used in bead and sequin embroidery, and experiment with creating line, shape, and texture through embellishment. You’ll complete a series of samples to support your ongoing practice.
While beginners are welcome, some prior embroidery experience will allow you to expand your skillset further and create more detailed work.

What to Expect
A curated workshop kit is provided, including beads, sequins, threads, fabric, beading fabric and needles. Students will need to bring a hoop, clamp, and basic sewing supplies — these can be purchased from CAFA, with details provided upon enrolment.
Classes & Cost
Cost: $435 (includes materials)
Format: 12-hour workshop, 2 Days
9:30am – 4:00pm (30-minute lunch break)
Upcoming 2026 dates: TBC
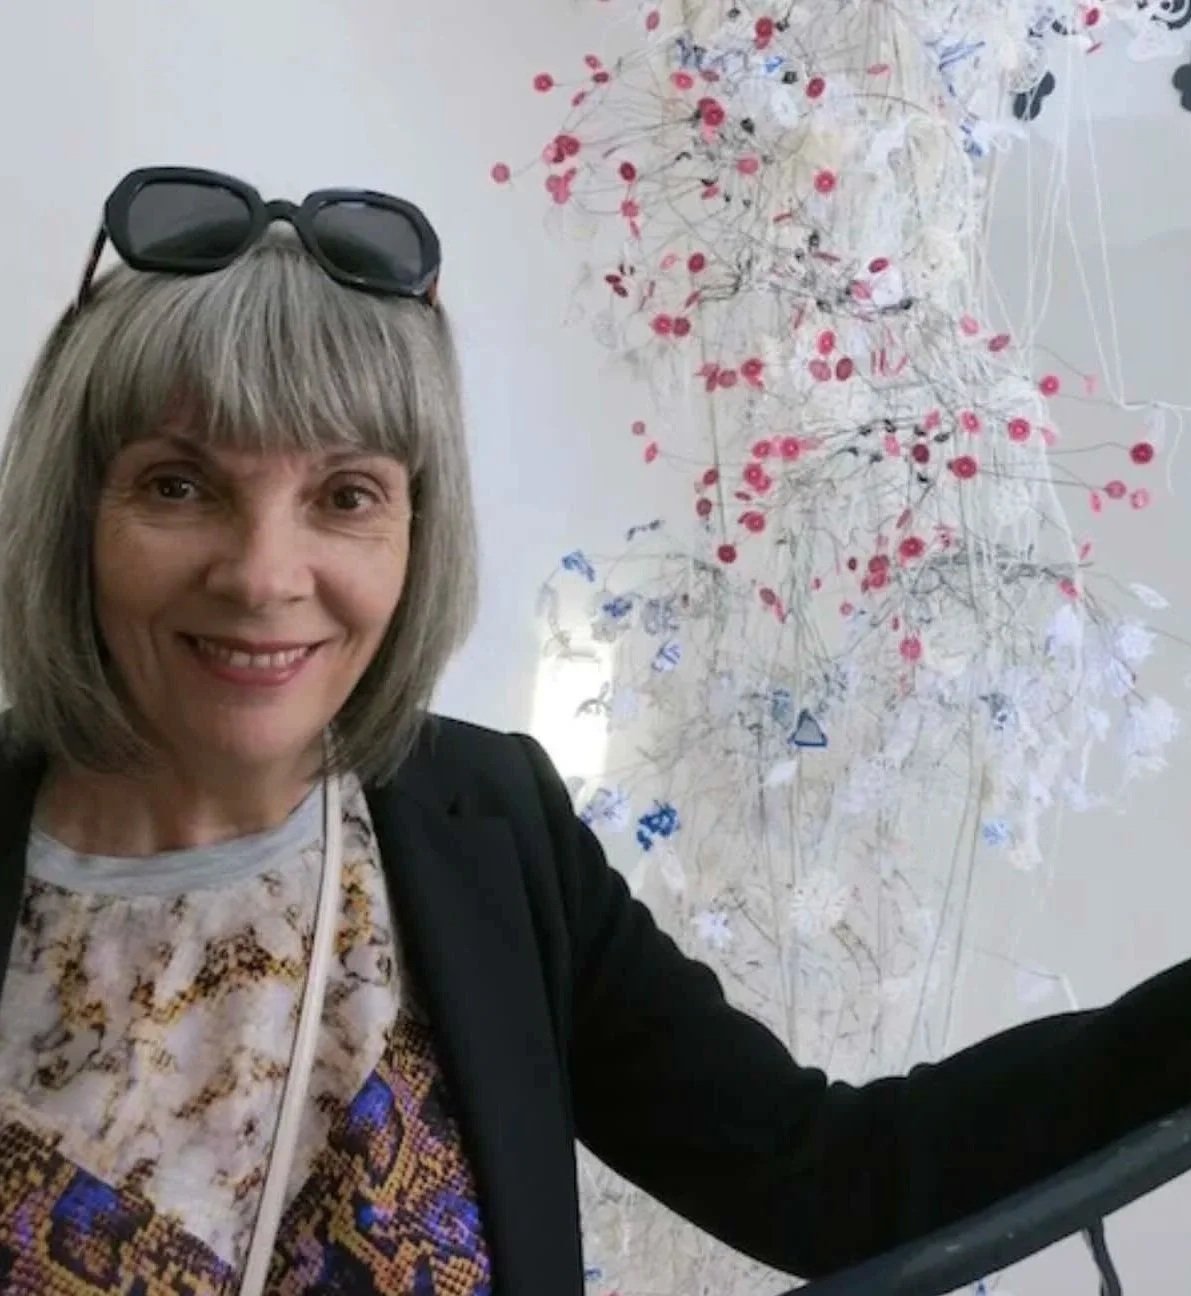
Meet Mary Brown | Couture Embroidery Tutor
Initially a secondary school visual arts teacher, Mary specialised in drawing, oil and acrylic painting, relief painting, etching and screen printing. She graduated from the prestigious Royal School of Needlework at Hampton Court Palace in the UK in 2001, is an accredited tutor and judge at the Embroiderers' Guild of NSW and in 2007 published a book: Goldwork Embroidery: Designs and Projects.
Not quite ready to book?
Join our community for free video tutorials, couture sewing tips, course guide and early booking access.
Beading & Sequins Embroidery | Workshop Summary
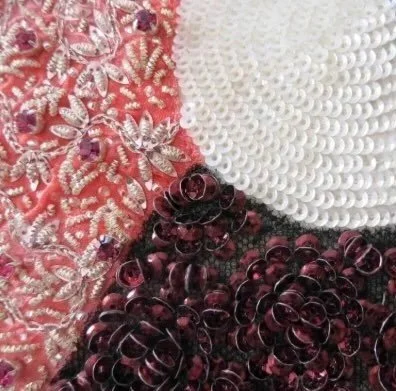
Beads and sequins definitely add a touch of glamour to garments, accessories or even home furnishings. Whether you sew for yourself or you’re an aspiring fashion designer, these techniques will open up a world of creative possibilities.
Choosing the right needles
Choose beading needles or sharps with small eyes, as they easily pass through the tiny holes in beads and sequins. Beading needles are longer and thinner, allowing you to navigate intricate details effortlessly.
Thread selection
Opt for a strong and fine thread that matches the colour of your beads or sequins. The thread should be sturdy enough to withstand the weight of the beads and sequins, ensuring durability in your finished piece.
Prepping the beads and sequins
Before sewing, sort and organise your beads and sequins based on size, shape, and colour. This preparation saves time during the sewing process and allows you to plan your design more effectively. Use a bead tray or small containers to keep your materials organised and easily accessible.
Securing beads with backstitch
This is a common technique to attach beads securely. We’ll show you how to insert the needle from the wrong side of the fabric, bringing it up at the desired bead placement. You will then slide the bead onto the needle, then pass the needle back through the fabric, creating a small stitch.
Attaching sequins with a running stitch
For attaching sequins, a running stitch is commonly used. Insert the needle from the wrong side of the fabric and bring it up through a sequin hole. Slide the sequin onto the needle and let it rest against the fabric. Pass the needle back down through the next sequin hole, securing the sequin in place. use beads to hold down found objects.
Embellishing with bead embroidery
You can create intricate designs using a combination of beads and embroidery stitches. Begin by sketching your design on the fabric, then secure your first bead by sewing it through the fabric. Use a mix of bead sizes and colours to add dimension and visual interest. More complex techniques involve attaching beads to create a dangling or looped fringe, beaded rosettes and fish scale sequins application,.
Finishing techniques
To ensure a neat and professional finish, secure your thread at the end of your work. Weave the needle through nearby stitches on the wrong side of the fabric to secure the thread, then trim any excess.
7/859 pacific highway, pymble, sydney, nsw, 2073
(02) 9449 1450
BEADING & SEQUINS MASTERCLASS
Couture Embroidery Short Course
The workshop is taught by couture embroidery expert Mary Brown — a graduate of the prestigious Royal School of Needlework in the UK. You’ll learn how to identify the different types of beads and sequins and where and how to use them. You’ll learn techniques to attach beads and sequins and with particular emphasis on how to combine them to enhance a garment.
Skill Level | All
While beginners are welcome, some experience of embroidery will enable you to expand your skillset and create more complex or detailed pieces.

Skills You’ll Learn
Design inspiration and ideas.
Drawing and transferring a design onto fabric.
Types of beads and sequins and where to purchase them.
Knowledge of the variety of needles, stitching techniques and threads used in beads and sequins embroidery techniques.
Exploring line, shape and texture with beads and sequins techniques.
Completion of beads & sequins embroidery samples.

Date & Cost
9 hours | 3 Thursdays
6, 13 & 20 November, 2025
6.00 pm - 9.00 pm
Cost: $335 which includes a kit of beads, sequins, threads, fabric, beading cloth and needles.
Students will need a hoop, clamp and sewing supplies. These may be purchased from CAFA and details will be provided on enrolment.

Mary’s Credentials
Initially a secondary school visual arts teacher, Mary specialised in drawing, oil and acrylic painting, relief painting, etching and screen printing. She graduated from the prestigious Royal School of Needlework at Hampton Court Palace in the UK in 2001, is an accredited tutor and judge at the Embroiderers' Guild of NSW and in 2007 published a book: Goldwork Embroidery: Designs and Projects.
Read More >
-
Tame Your Overlocker
Fashion Illustration
What You’ll Learn | Tips & Tricks | Beading & Sequins
Beads and sequins definitely add a touch of glamour to garments, accessories or even home furnishings. Whether you sew for yourself or you’re an aspiring fashion designer, these techniques will open up a world of creative possibilities.
1. Choosing the right needles: Choose beading needles or sharps with small eyes, as they easily pass through the tiny holes in beads and sequins. Beading needles are longer and thinner, allowing you to navigate intricate details effortlessly. We’ll point you in the right direction (sorry, couldn’t resist that one : )
2. Thread selection: Opt for a strong and fine thread that matches the colour of your beads or sequins. The thread should be sturdy enough to withstand the weight of the beads and sequins, ensuring durability in your finished piece.
3. Prepping the beads and sequins: Before sewing, sort and organise your beads and sequins based on size, shape, and colour. This preparation saves time during the sewing process and allows you to plan your design more effectively. Use a bead tray or small containers to keep your materials organised and easily accessible.
4. Securing beads with backstitch: This is a common technique to attach beads securely. We’ll show you how to insert the needle from the wrong side of the fabric, bringing it up at the desired bead placement. You will then slide the bead onto the needle, then pass the needle back through the fabric, creating a small stitch.
5. Attaching sequins with a running stitch: For attaching sequins, a running stitch is commonly used. Insert the needle from the wrong side of the fabric and bring it up through a sequin hole. Slide the sequin onto the needle and let it rest against the fabric. Pass the needle back down through the next sequin hole, securing the sequin in place. use beads to hold down found objects.
6. Embellishing with bead embroidery: You can create intricate designs using a combination of beads and embroidery stitches. Begin by sketching your design on the fabric, then secure your first bead by sewing it through the fabric. Use a mix of bead sizes and colours to add dimension and visual interest. More complex techniques involve attaching beads to create a dangling or looped fringe, beaded rosettes and fish scale sequins application,.
8. Finishing techniques: To ensure a neat and professional finish, secure your thread at the end of your work. Weave the needle through nearby stitches on the wrong side of the fabric to secure the thread, then trim any excess.
CAFA SEWING & DESIGN STUDIO
Come and visit our spacious studio in Pymble on Sydney’s North Shore. We’re a short walk from the Pymble train station and we have ample free parking onsite.
Contact details & directions.
Dressmaking Classes: Learning to Sew the Right Way
The beauty in fashion is all about the details. Learn to sew or take your sewing skills to the next level with our Beginners and Intermediate Dressmaking courses. You will not only learn how to make garments, but also how to harness your attention to detail and couture techniques to create a beautiful piece with perfect fit and a finish of the highest quality. Even the most simple garments will be elevated to a new level with the right techniques.
These sewing classes are aimed at students wanting to learn techniques to complete quality, professional-looking garments using commercial patterns. Students who want to design their own patterns will also benefit from the additional skills gained in either of the dressmaking classes before moving on to more advanced classes.
All levels are catered for, with our beginner students offered the Introductory Basic Garments Quality Fit & Finish Course, focusing on interfacing, seam variation, machine hemming and much more. If you already have a reasonable grasp of the basics, our Intermediate Class will teach you the perfect construction of sleeves, cuffs, collars, and hand-sewn finishing on hems and other fine details.