
Sewing With Velvet | Part 2
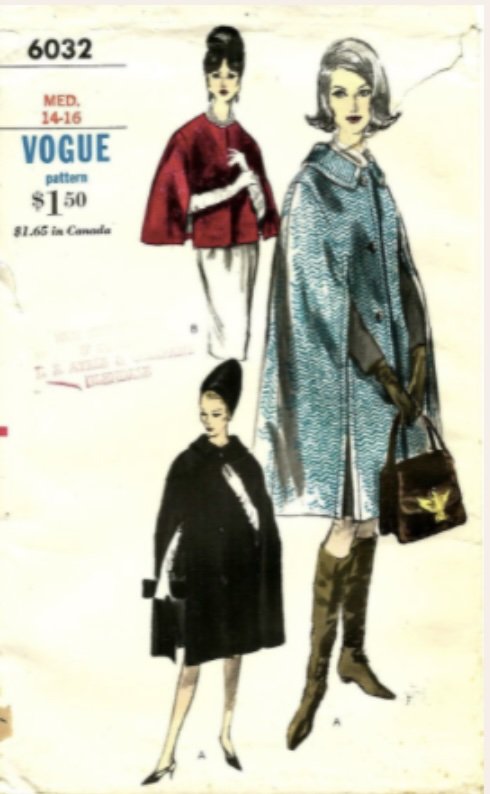
For all those up for a challenge, with the right techniques, you can sew velvet and create a stunning garment you'll treasure for years to come! Yes, it's a bit tricky, but it's so worth the effort. Here's what one of our students made using the amazing Vintage Vogue pattern 6032. Note the VERY simple design - this is an important consideration when working with velvet.
Basting or Tacking
When you put two layers of velvet with their right sides together and try to sew them, you'll quickly find that the fabric has a tendency to move - a lot! This “creeping" occurs because the piles of the fabric slip against each other. There are various ways to help alleviate creeping, including pinning vertically, basting using a diagonal stitch, holding the fabric taut as you sew, stitching with tissue paper between the layers or using a walking foot on your sewing machine. For this cape, the student did lots of hand basting using a diagonal stitch to secure each seam.

Test … and then test some more …
Before you actually sew, it's important to use scraps of your velvet to do some test seams first. Choose a machine needle size according to the weight of your fabric and loosen your tension a notch ( to allow for the additional bulk of the velvet pile). The selection of a slightly longer stitch length may also be needed to help alleviate tension issues. Lowering the presser foot pressure is another good idea, to reduce the risk of the feed dogs damaging the fabric. Luckily, we have quite a few different machines in the studio and we tested all of them to find the best results.
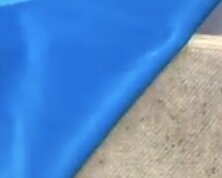
A velvet board in action
Pressing
It's well worth taking the time and care in the preparatory stage, as you don’t want to be unpicking any seams (velvet is a rather unforgiving fabric once it's damaged). Also, it's best not to use fusible interfacing with velvet, as pressing the interface to fuse it will crush the velvet pile. Pressing velvet directly with an iron should also be avoided. Instead, gently finger press seams open, then apply steam to the wrong side of the fabric (a towel on the ironing board underneath the garment piece you are steaming will help support the delicate velvet pile). Better still, use a velvet board. We have one in the studio, though unless you sew a lot of velvet, it's a rather expensive item to own.
How to finish seams and hems? As you don’t want to add bulk, seams may be left raw-edged (providing the fabric doesn’t fray) or trimmed with pinking shears. If a finish is required, edges could be overlocked or finished with Hong Kong seams using a lightweight tulle. This cape was underlined, so there's no visible hem stitching, the actual roll line of the hem was also machine stitched and the underside of the collar was made using a thinner silk fabric (but still enough substance to provide structure).

As you run your hand over your luscious velvet garment, you will be so pleased you made the effort - especially with the details … vintage buttons and handmade button-loops!